How to use the WordPress Block Editor
Locate the page to edit
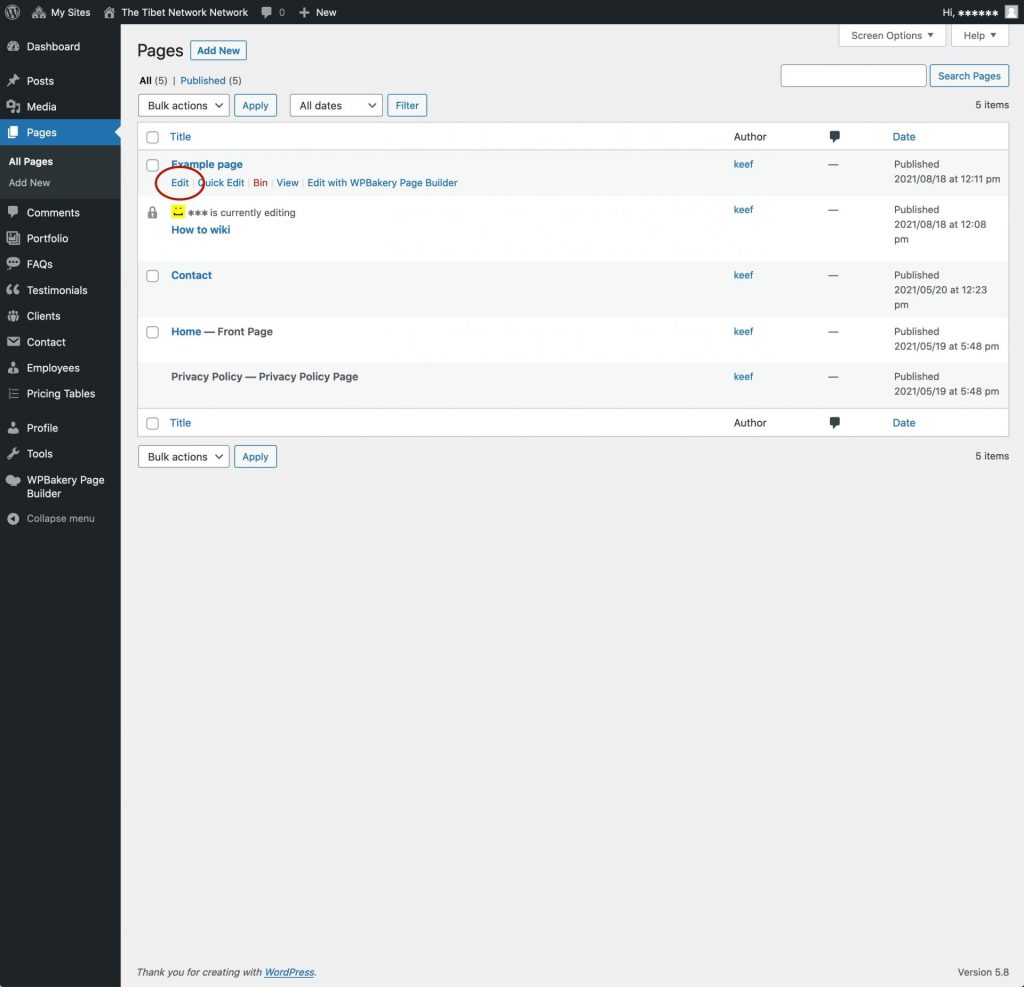
In order to edit your page, go to the Pages sidebar link and locate the page you wish to edit by rolling over the titles, then click ‘Edit’.
There is also a ‘Quick Edit’ option, which allows you to make changes to the title and date, etc.
Page elements
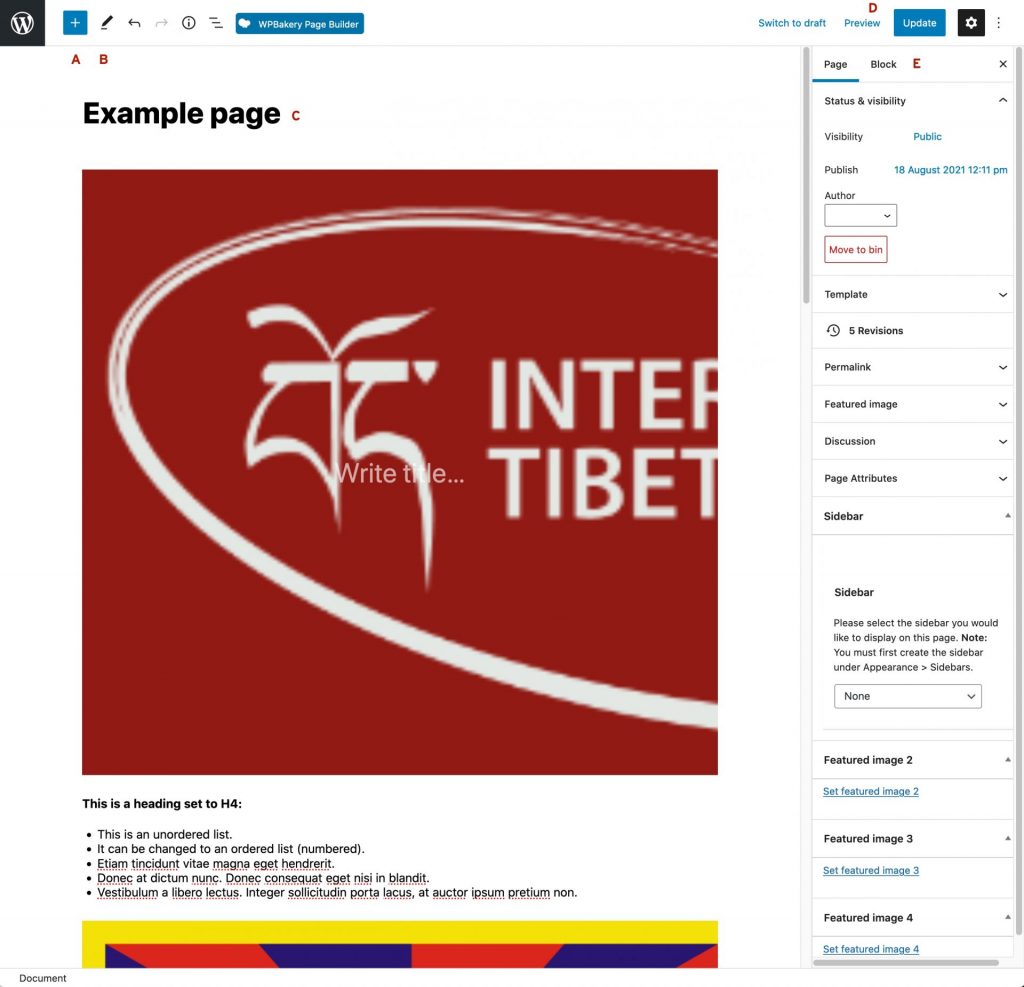
A page has several elements to be aware of:
- A – Block inserter – clicking this displays all the blocks available for your page
- B – Tools – allow you to switch between the Edit tool and Select tool
- C – Page Title
- D – Preview and Update buttons – use Preview to examine changes before committing to them and use Update when you’re happy with your edits
- E – Page and Block settings – The options visible here change depending on which block you have selected
Selecting blocks
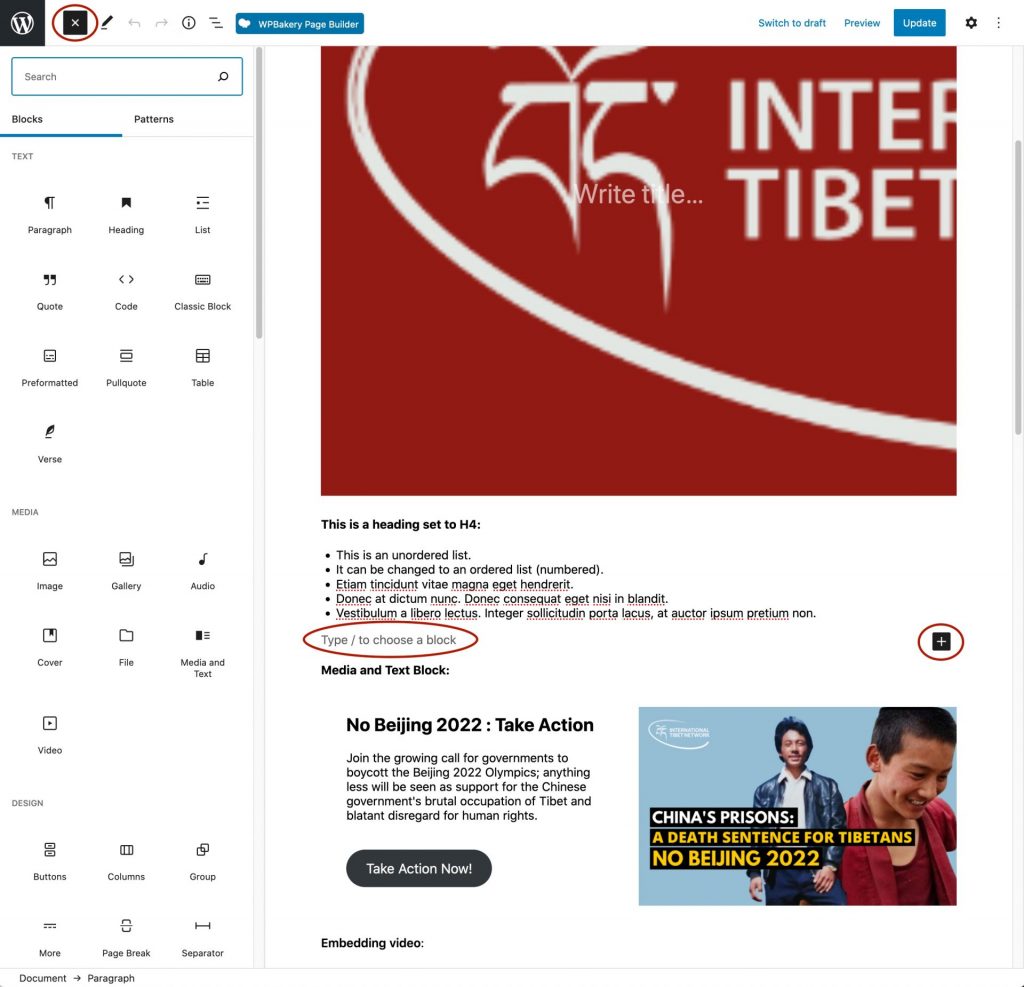
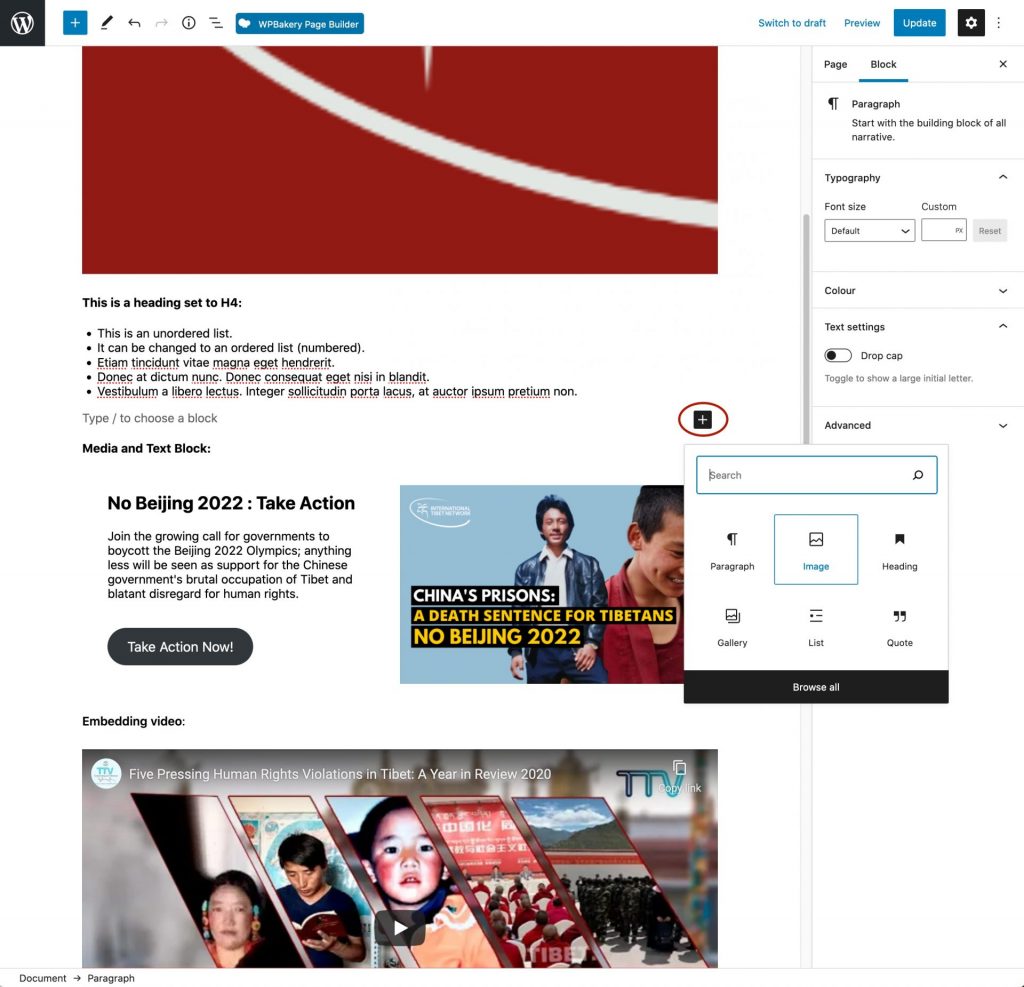
Place your cursor where you want to insert a block element.
Click on the block inserter and scroll through the list to find the element you want, or simply begin typing the element’s name, for example, image. Don’t worry if the block pops up in the wrong place, you can aways move it up or down using the Move up/Move down tool.
You can now edit the options on the page.
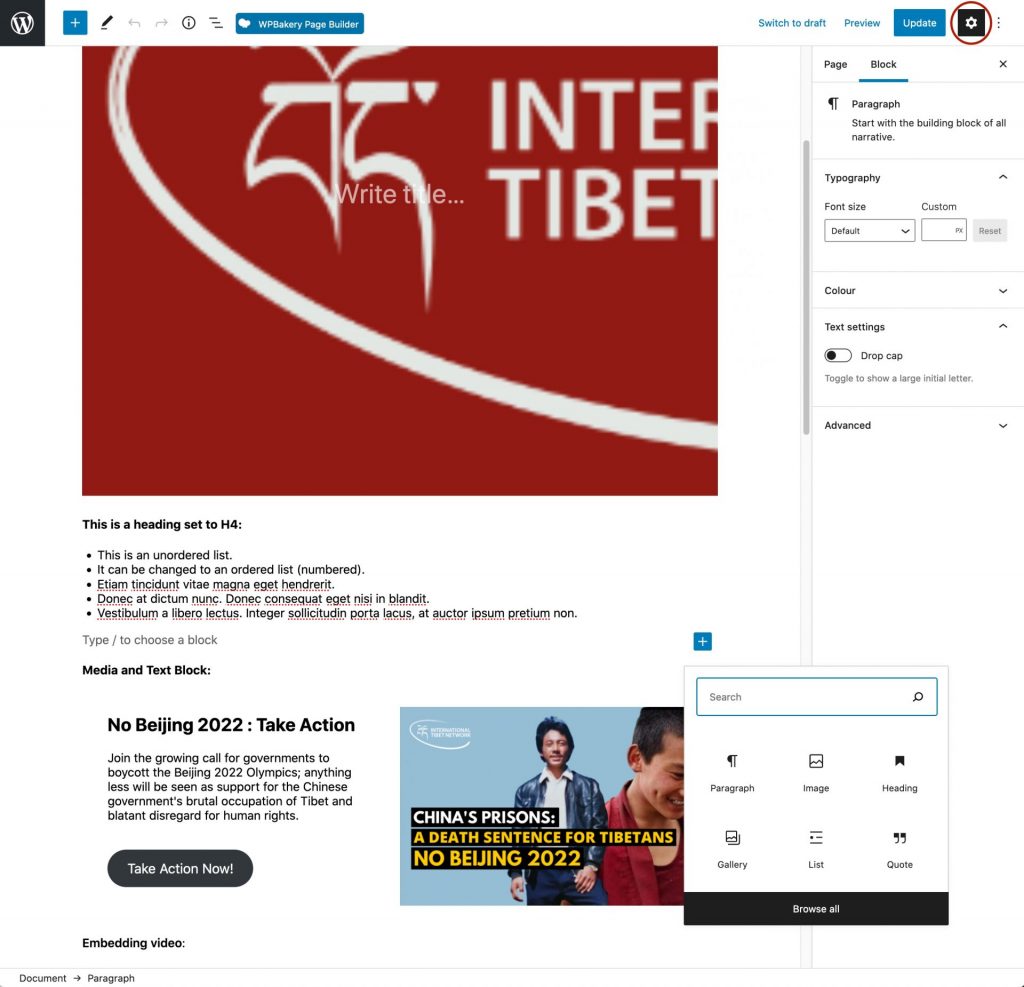
Block options are displayed on the right. If no column is visible, select the cog icon at the top right.
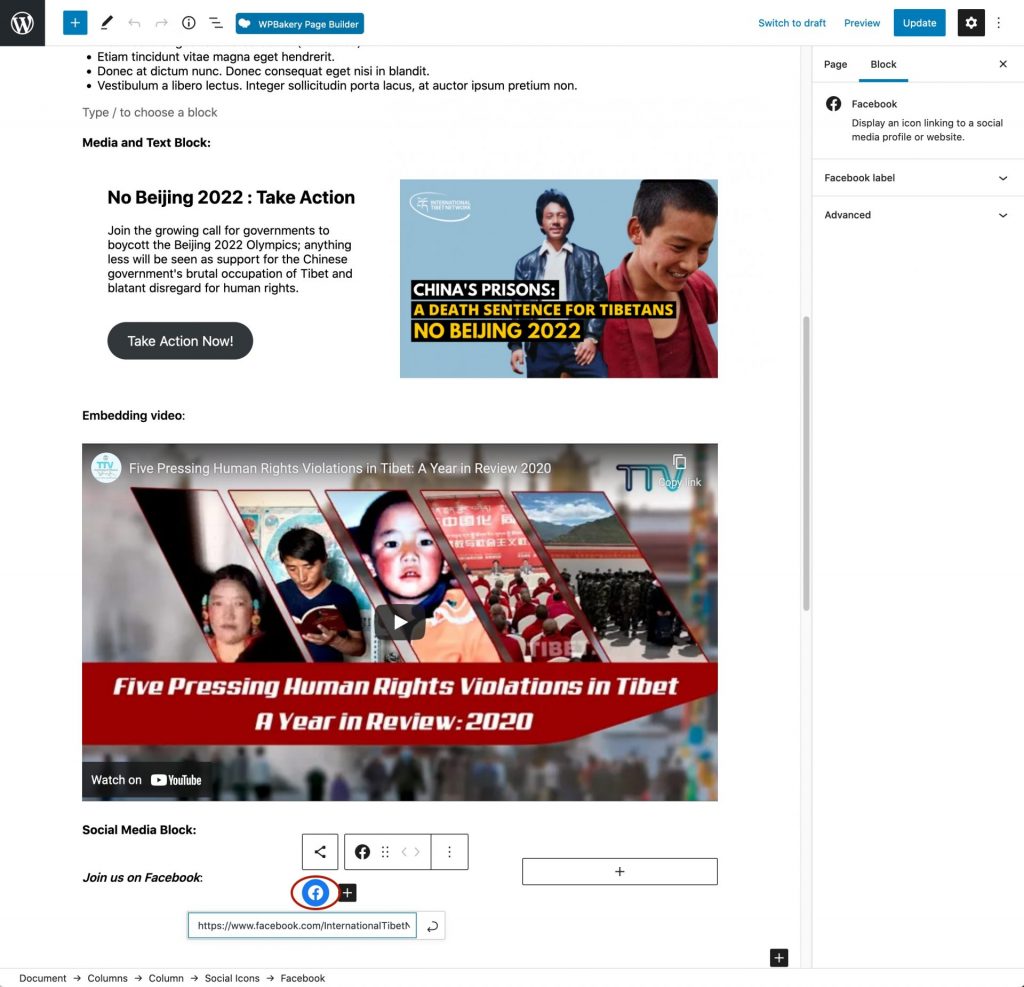
By selecting a block’s options icon you can add insertion points before and after, duplicate the block or delete it, along with other options.
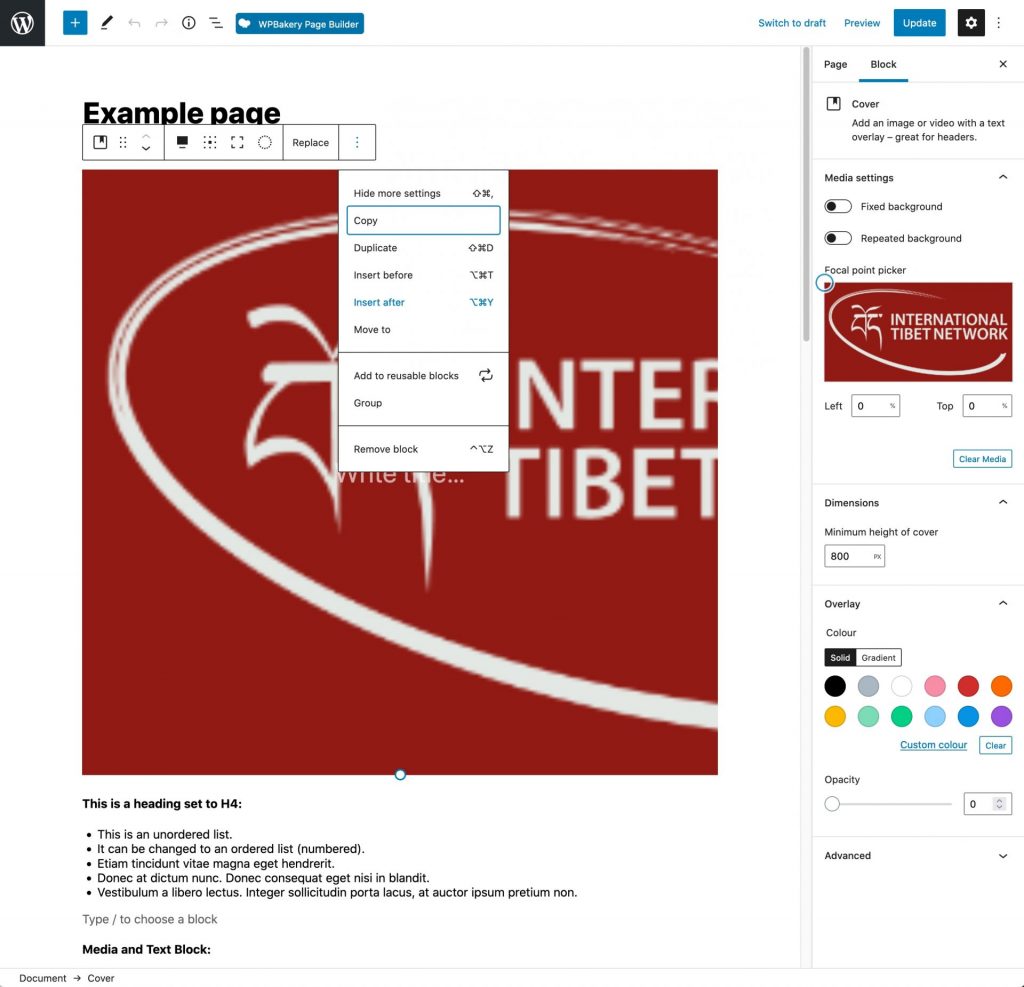
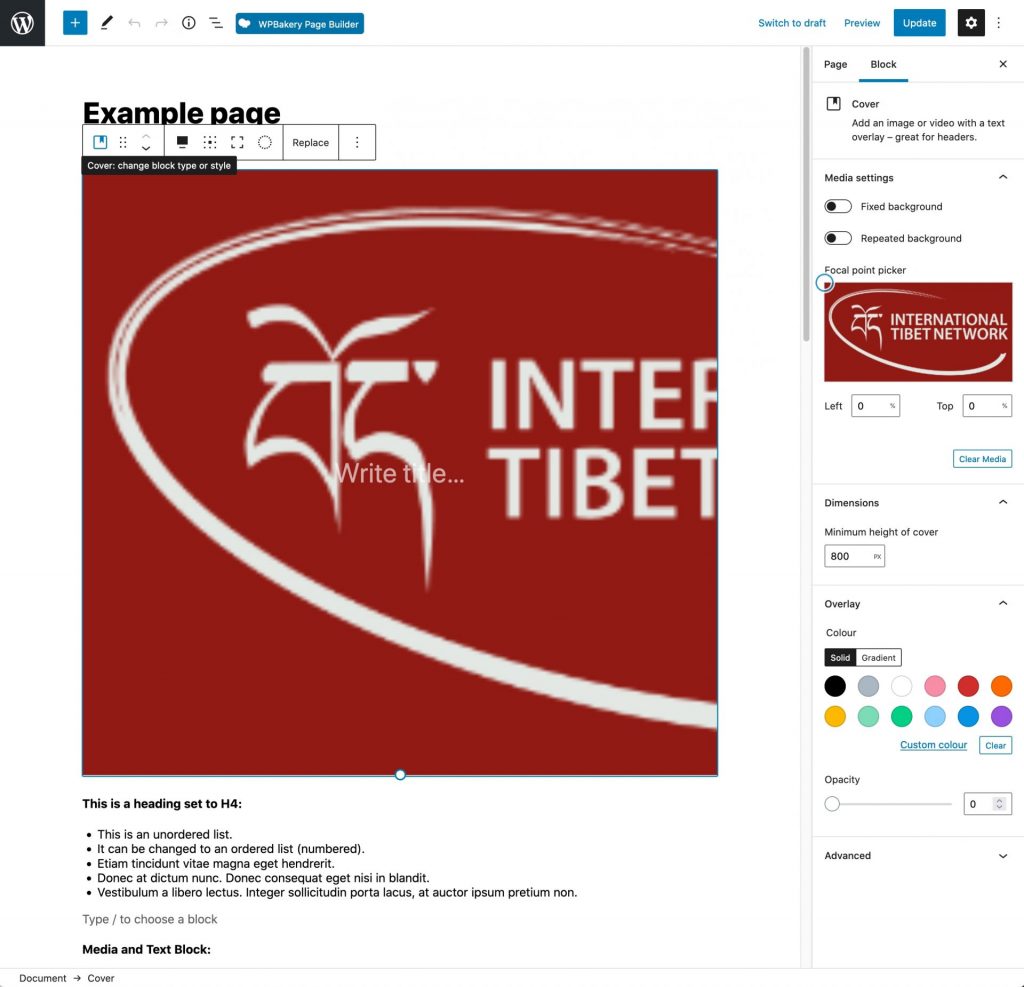
The cover image can be replaced and other display elements altered.
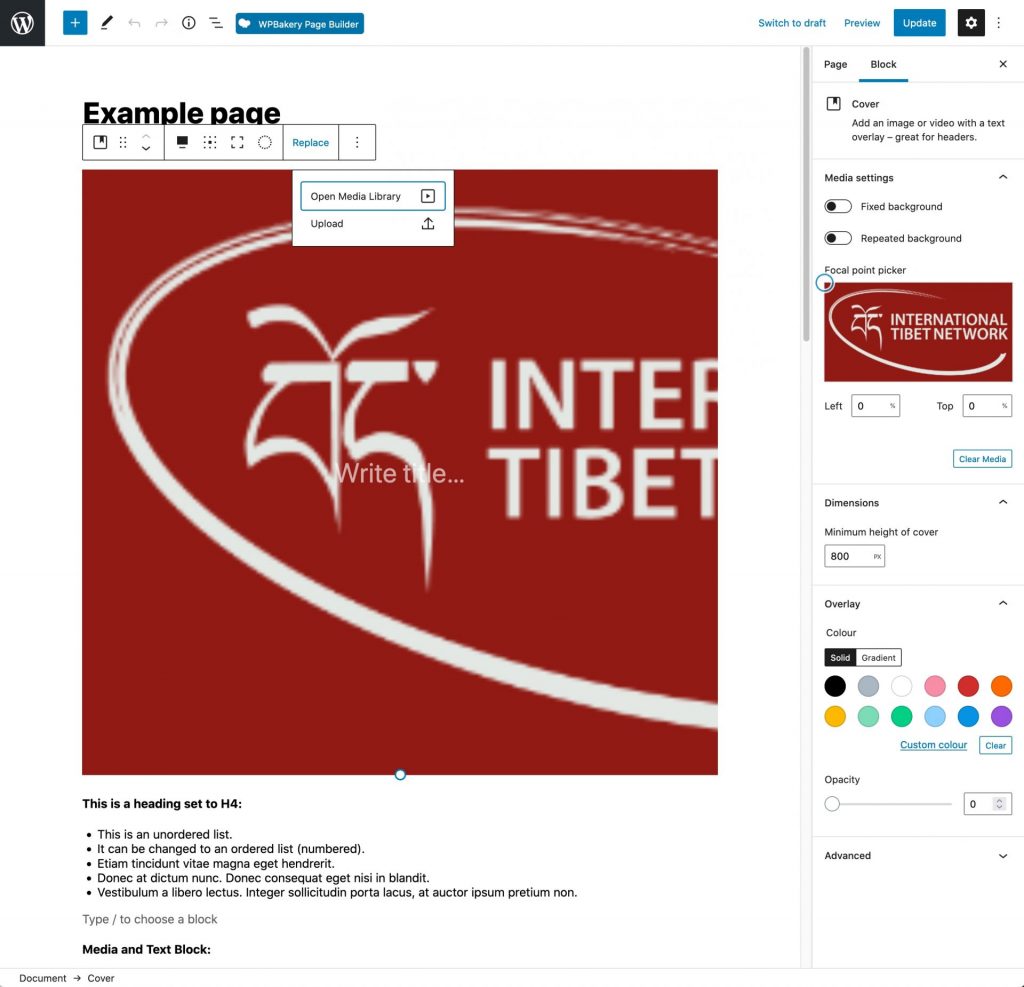
Clicking on ‘Replace’ opens up the Media Library, or you can elect to upload a new image.
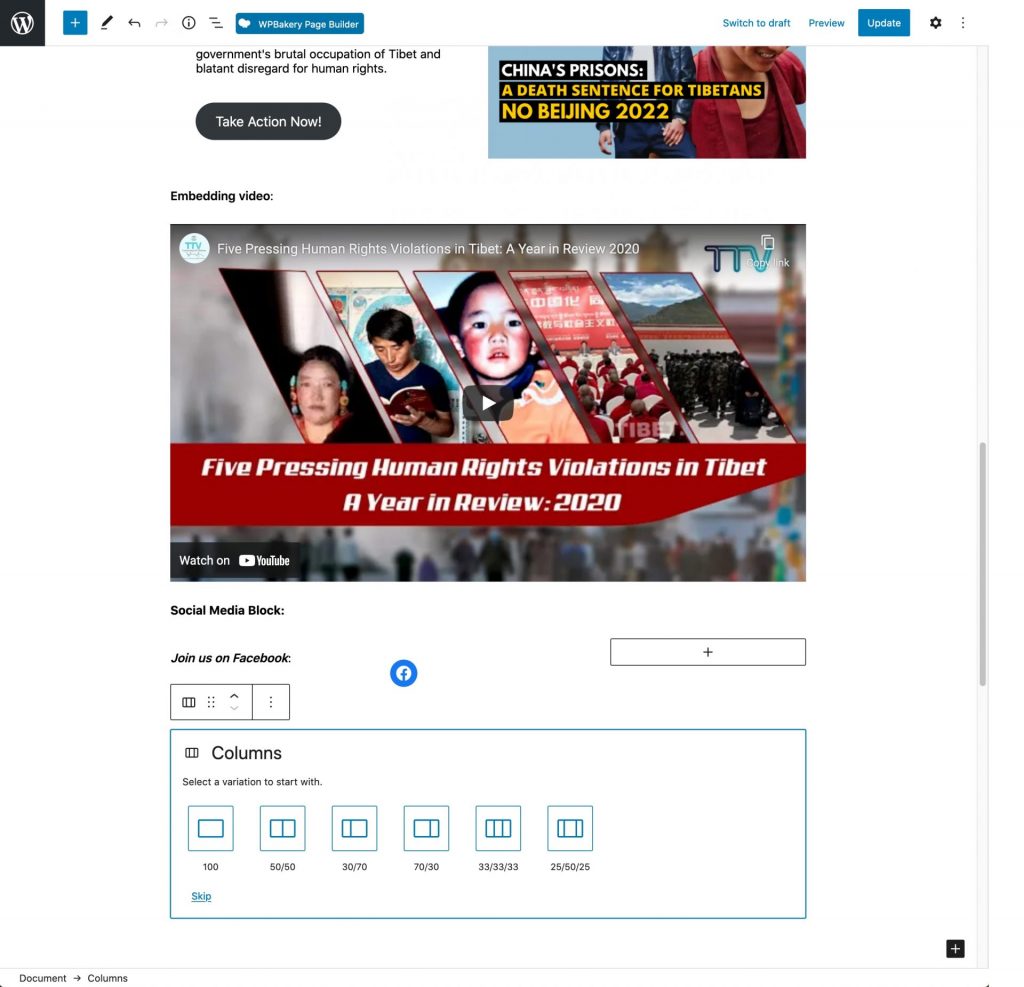
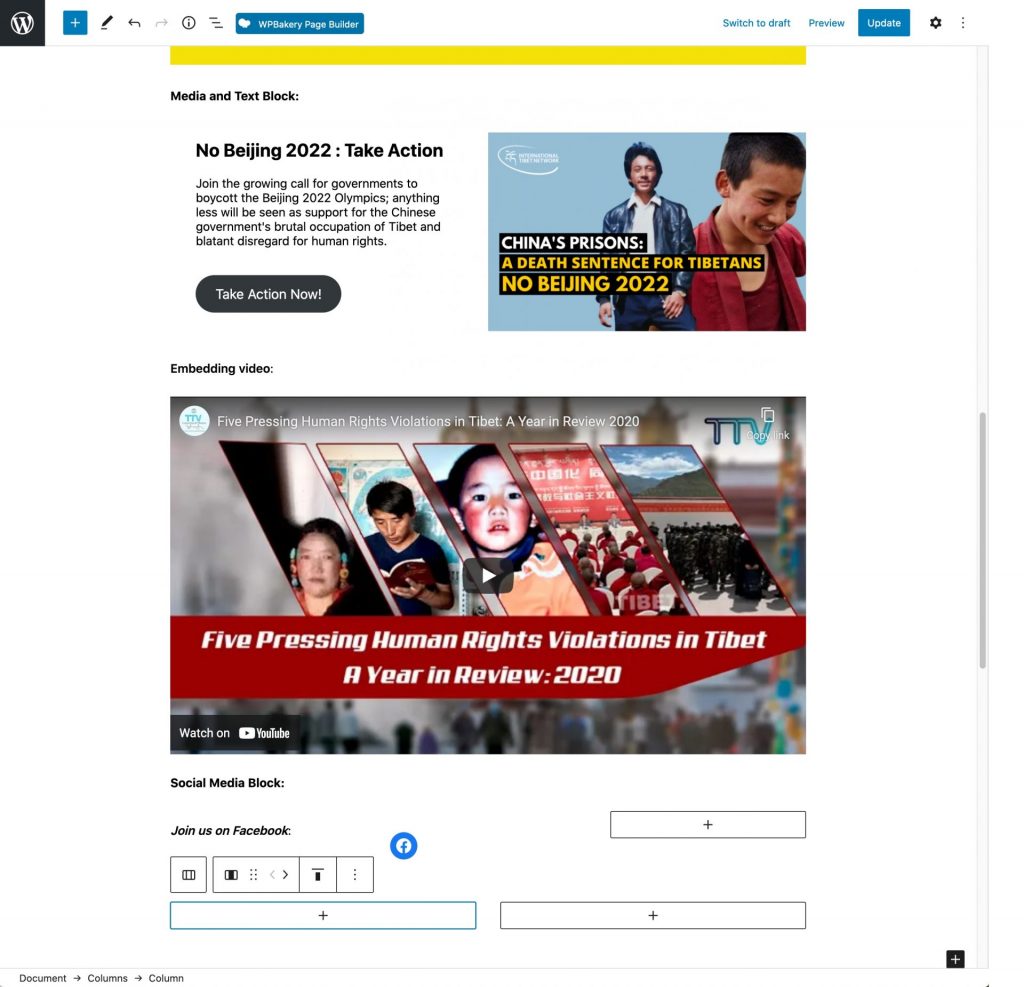
Once you’ve chosen how many columns you want, the editing page is divided into that number and you can select a block element for each column.
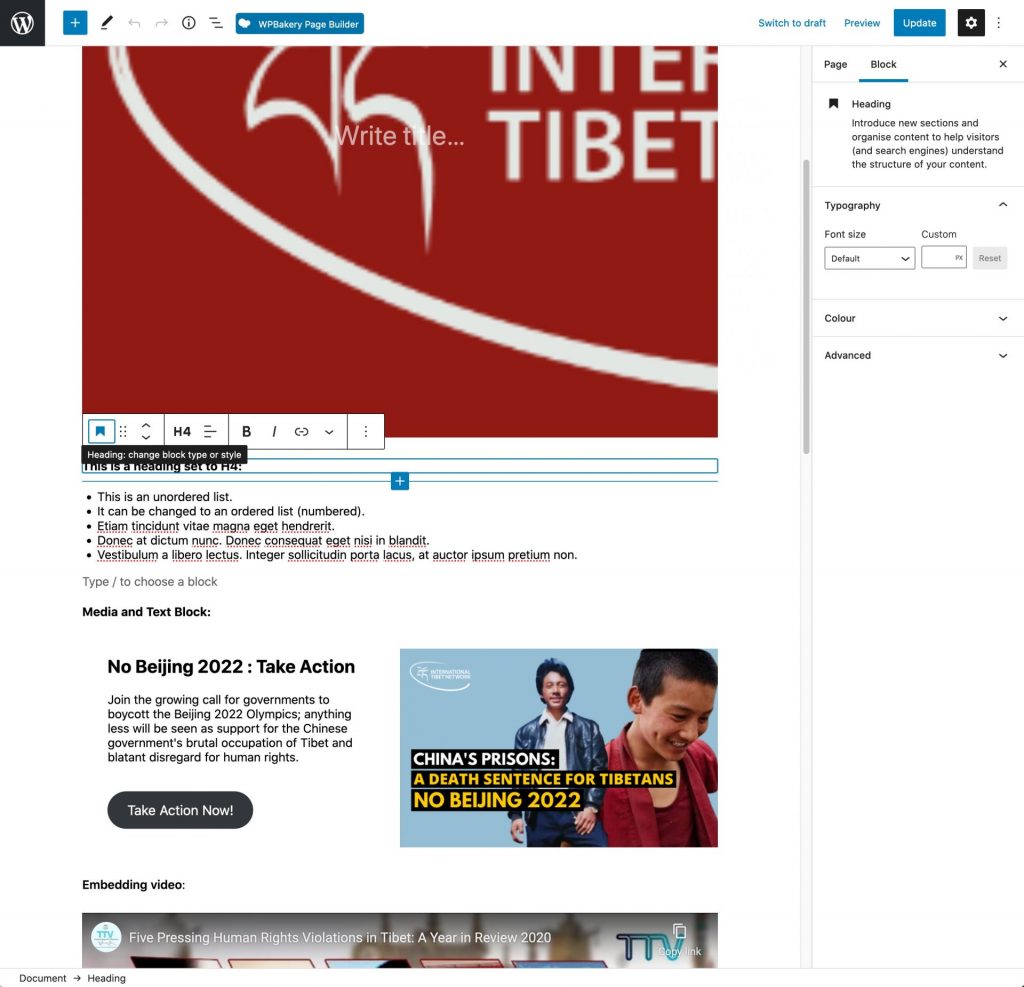
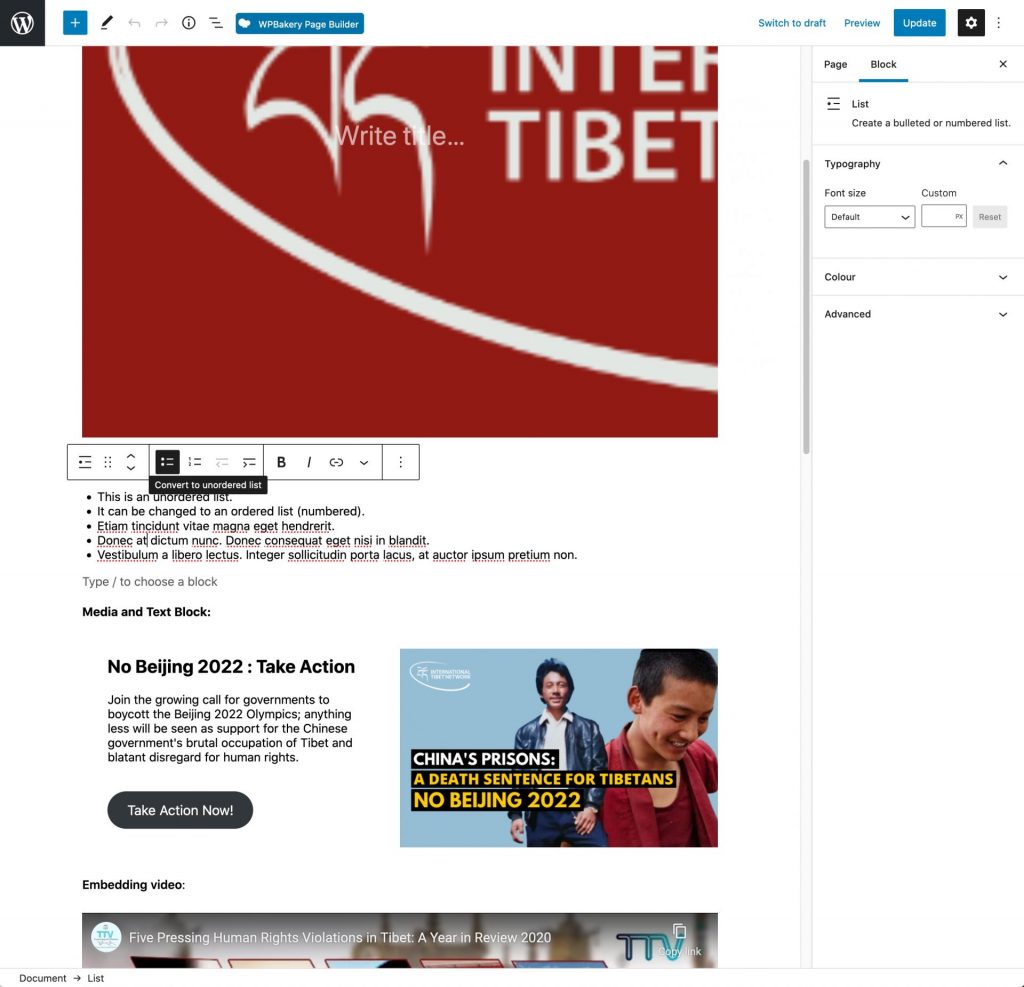
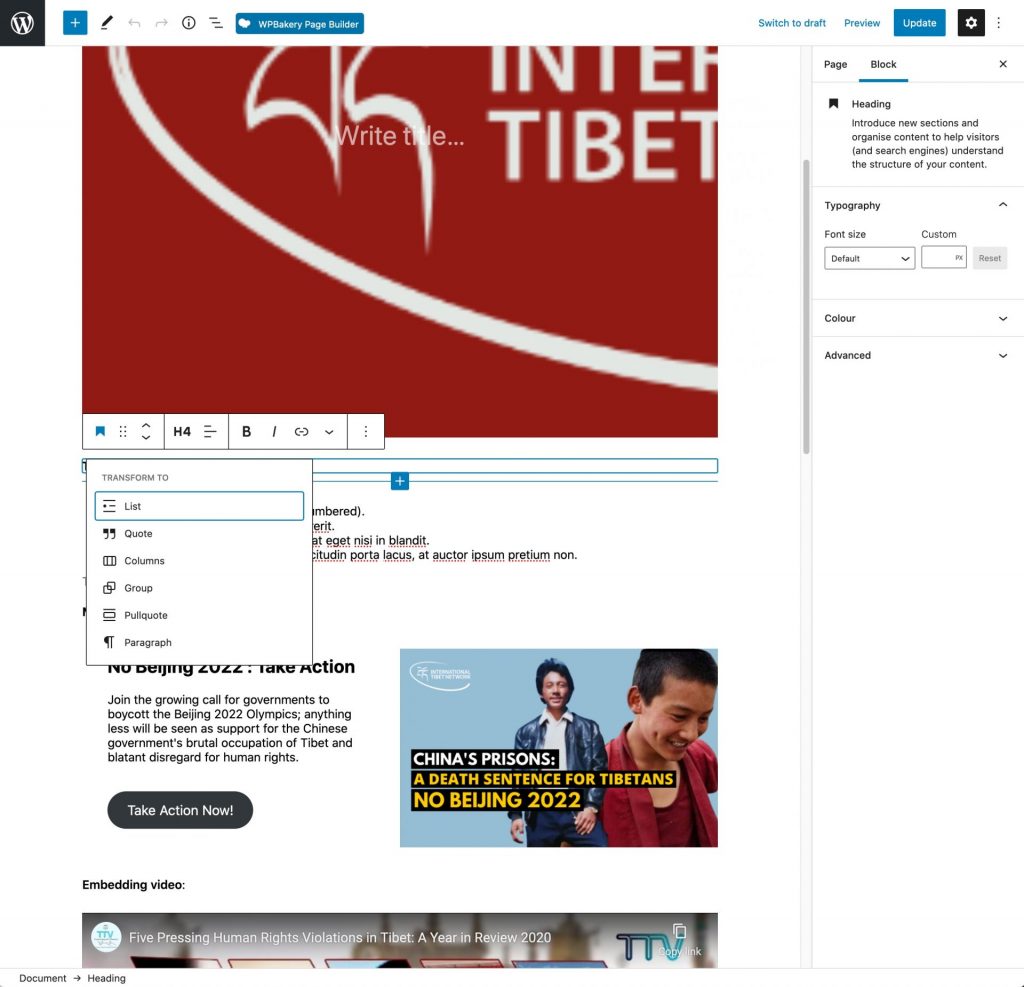
Clicking on it displays the types of block the content can be changed into.
(Note the Columns block, one that I find useful for layout.)
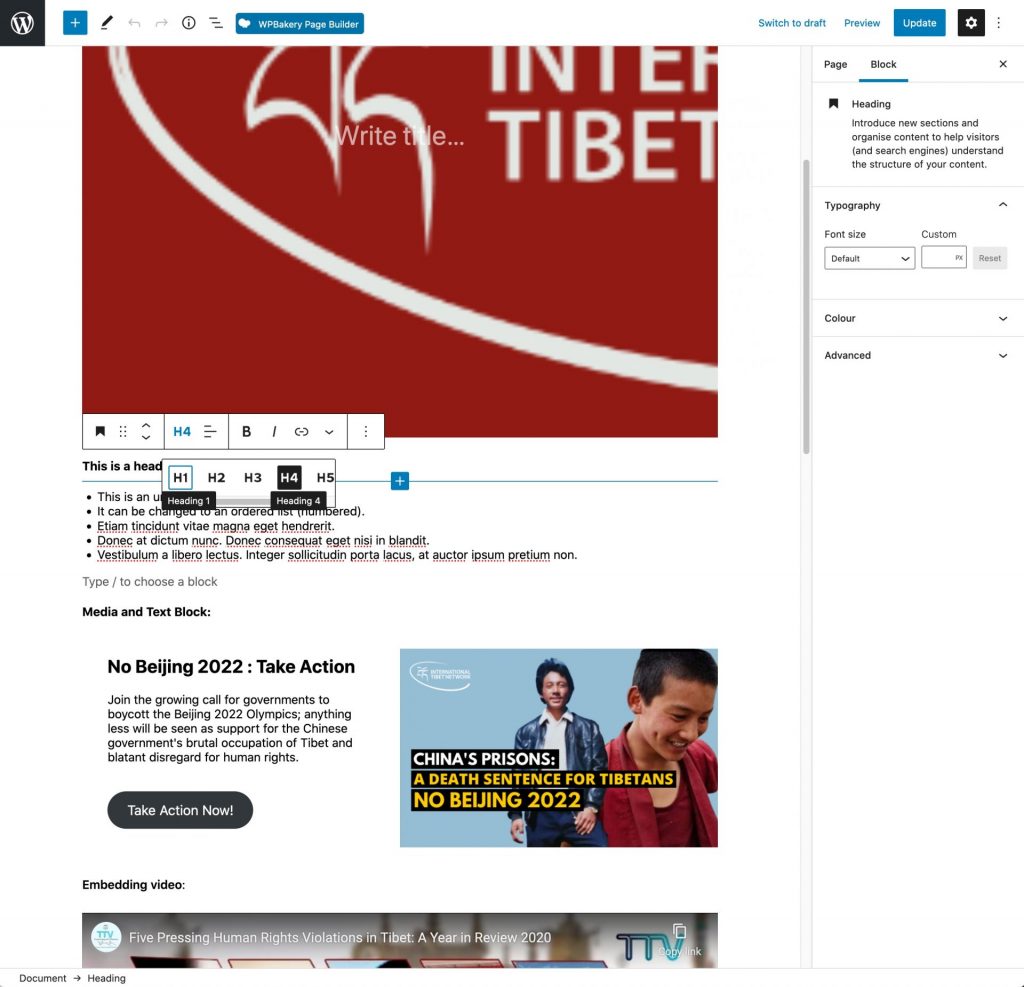
The size of the Heading can be changed.
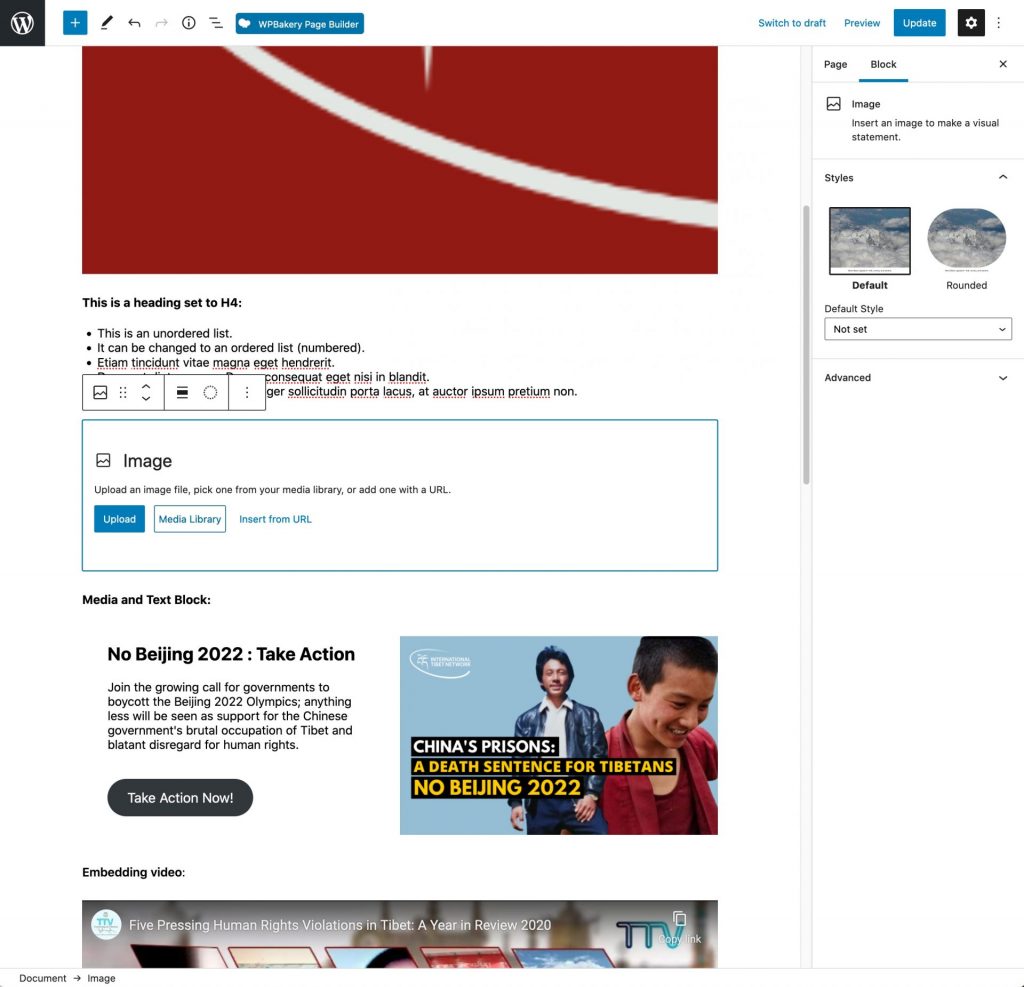
You either upload a new image, choose one from the Media Library, or insert one from a URL.
- Upload – Click on this and either drop the image onto the box that appears, or browse to it on your computer. If the image is very large it will be automatically resized to suit the internet.
- Media Library – Click on this to be taken to the Media Library to choose an image that’s already been uploaded.
- Insert from URL – Click on this and paste the URL of the image you want to embed on the page. This image will not appear in the Media Library.
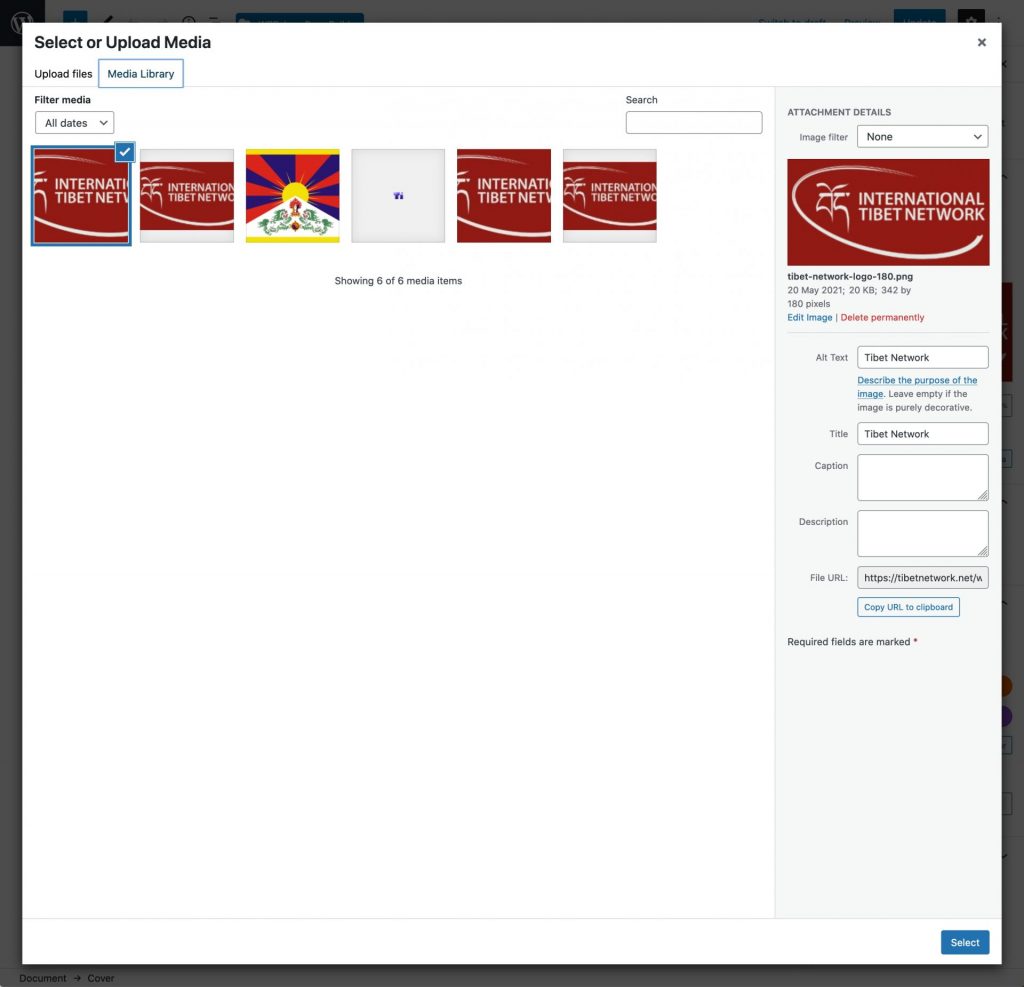
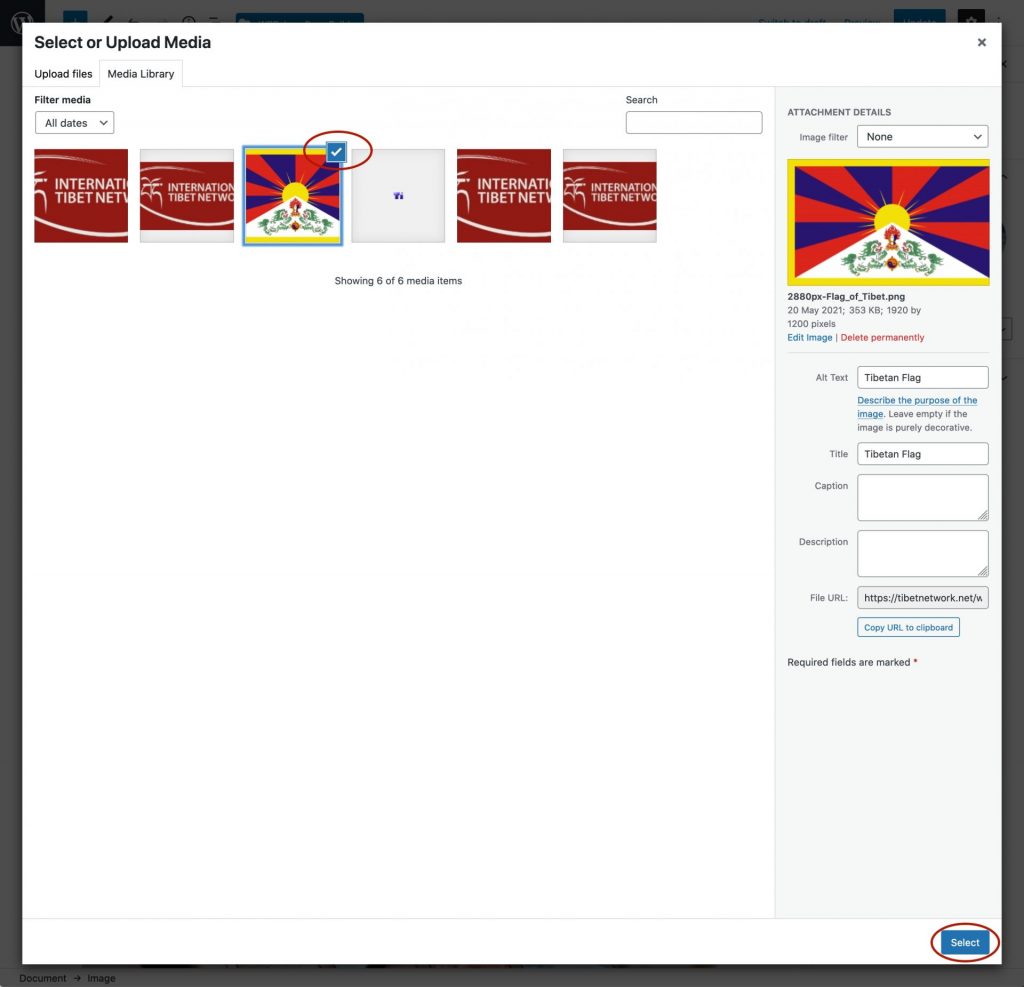
If you decide to choose an image from the Media Library, simply click on the image you want and click on ‘Select’.
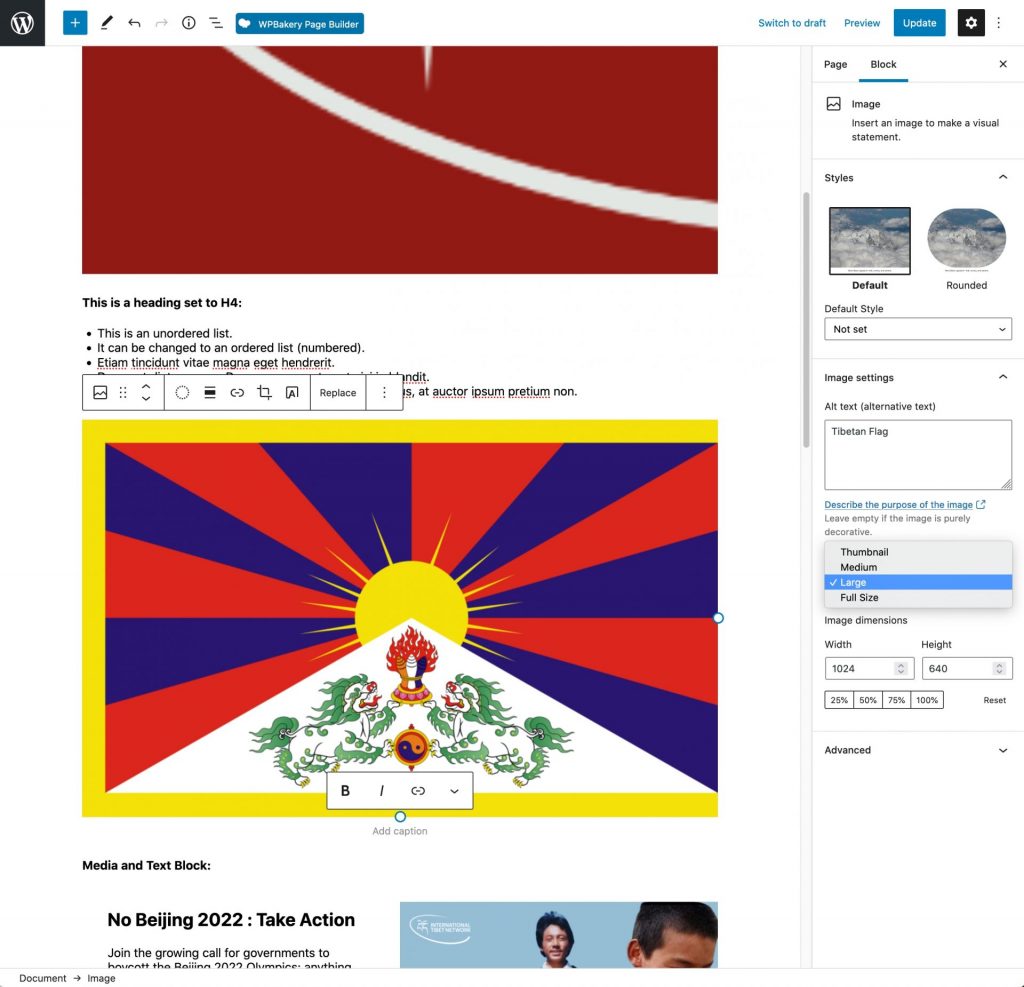
The image’s options appear along the top of the block and on the right.
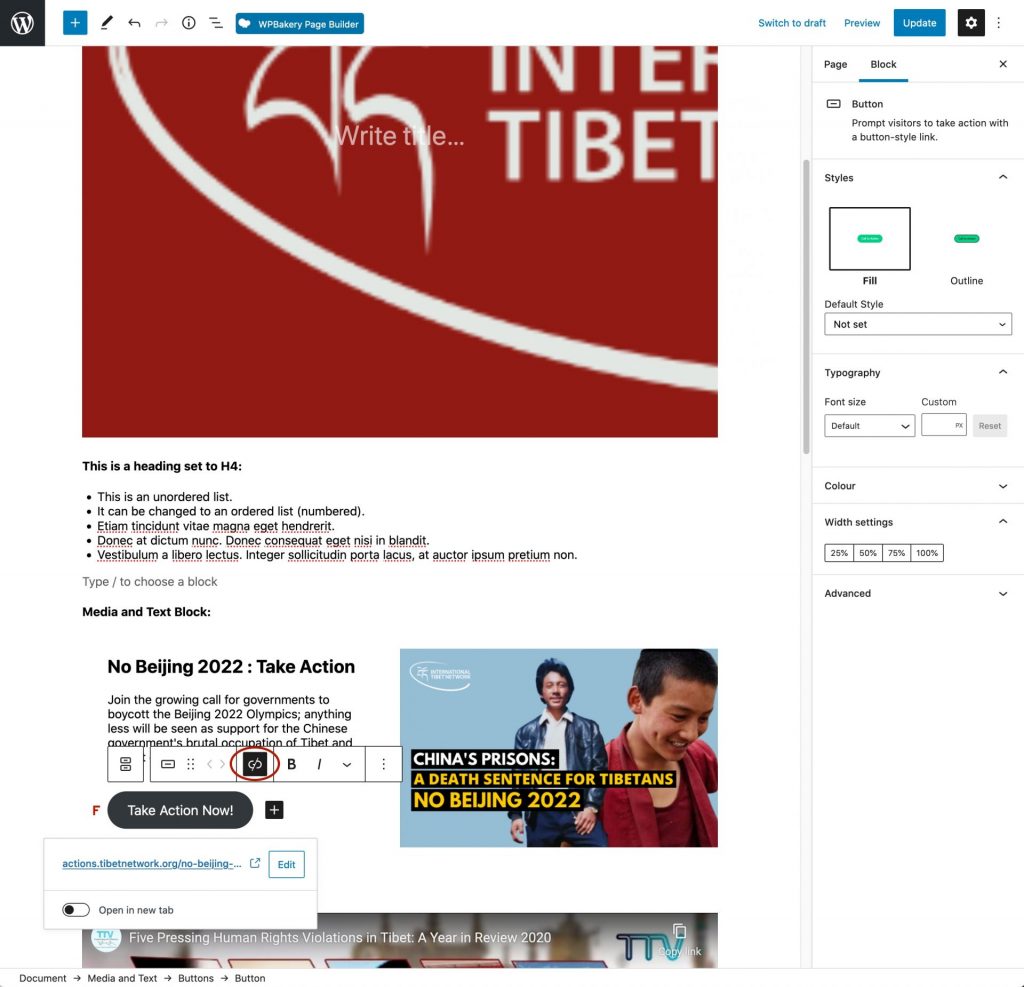
You can adjust its alignment, insert a link, crop, add text or a filter over it, replace it and, on the right, you can alter the size.
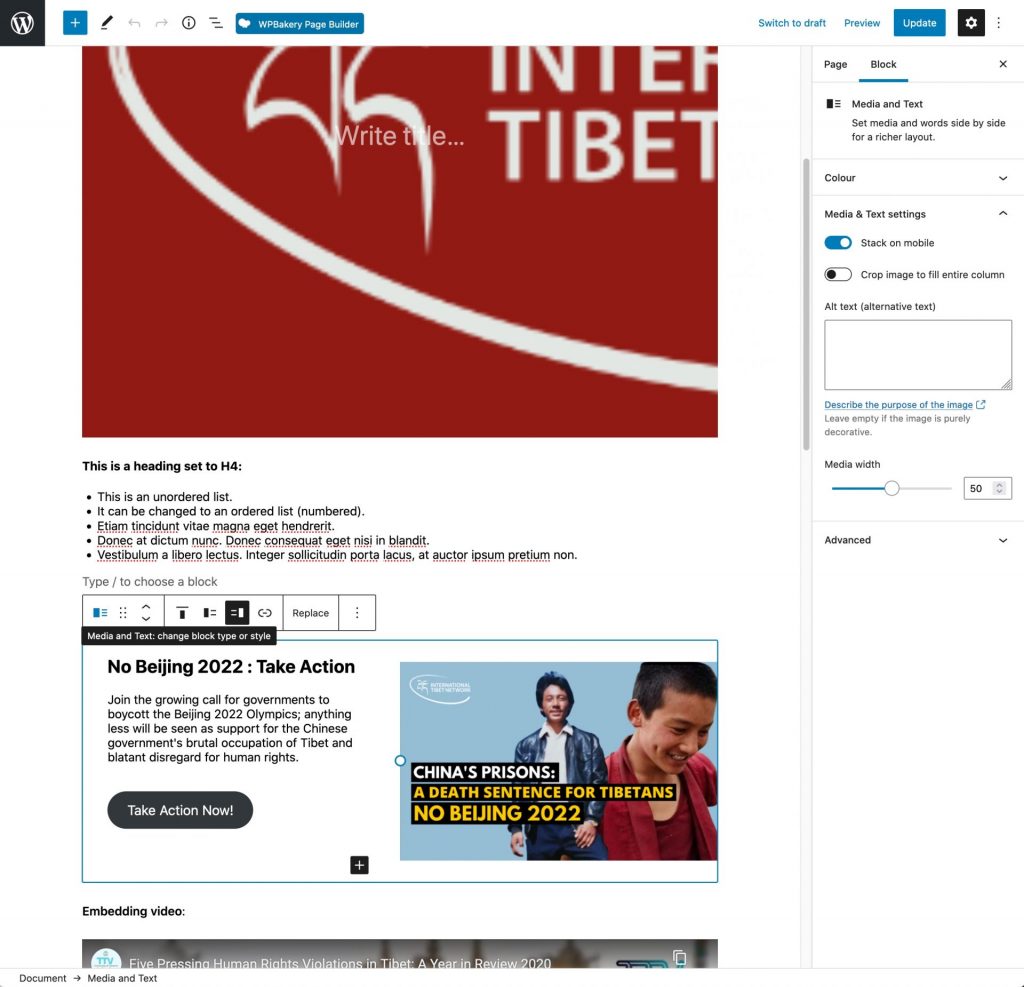
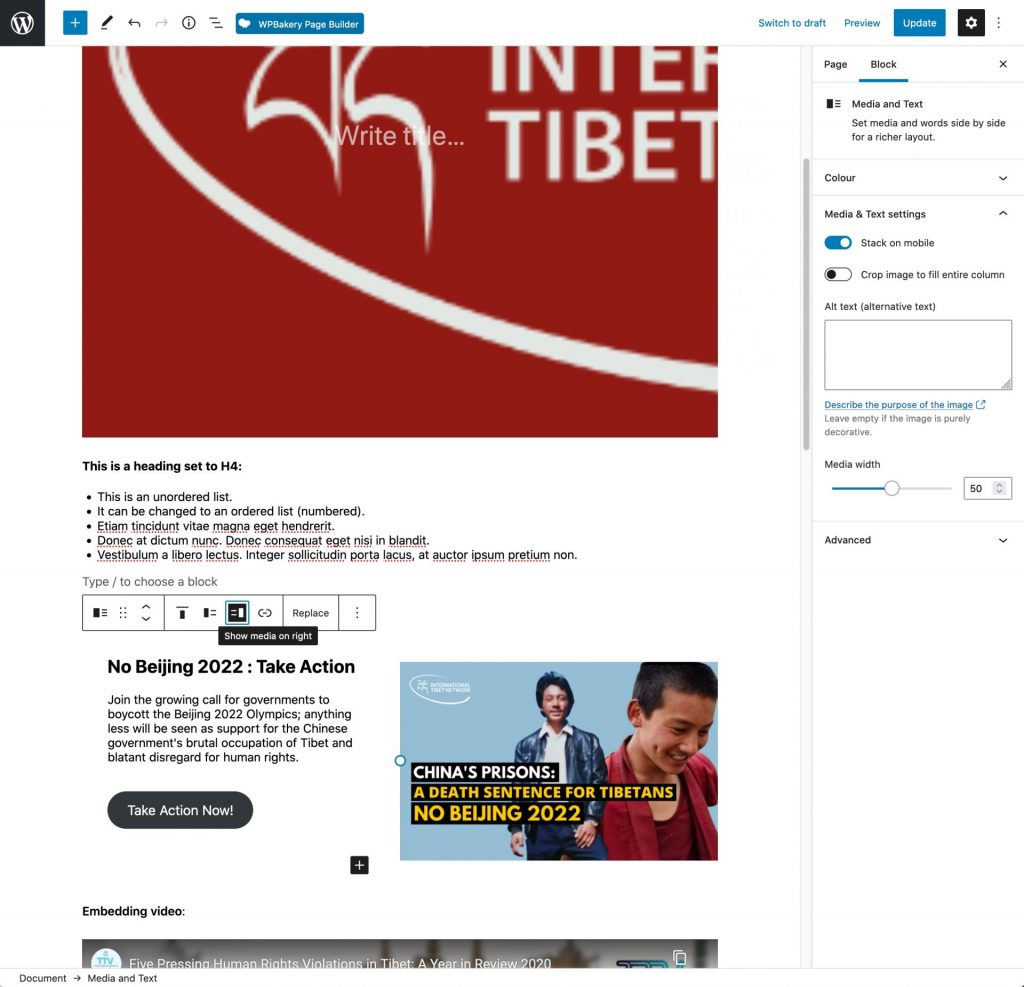
You can swap the two elements around, left and right.
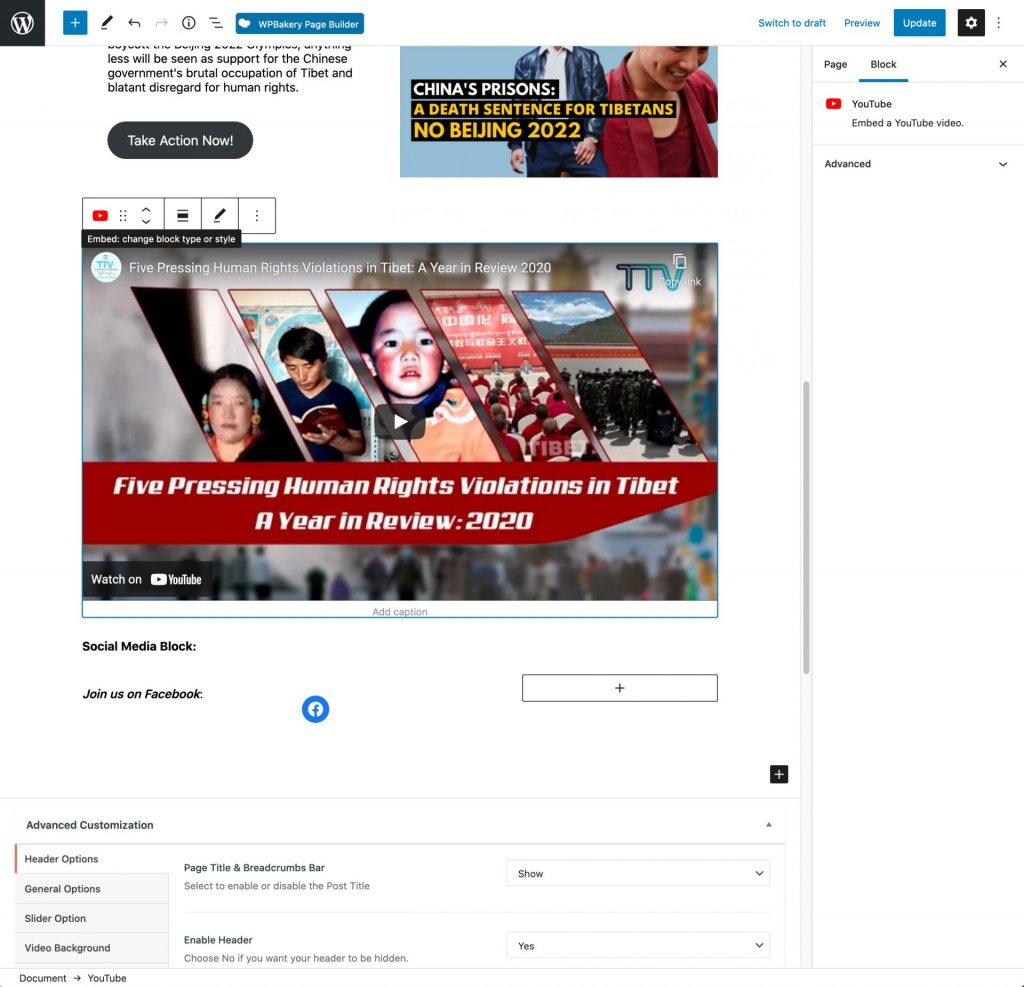
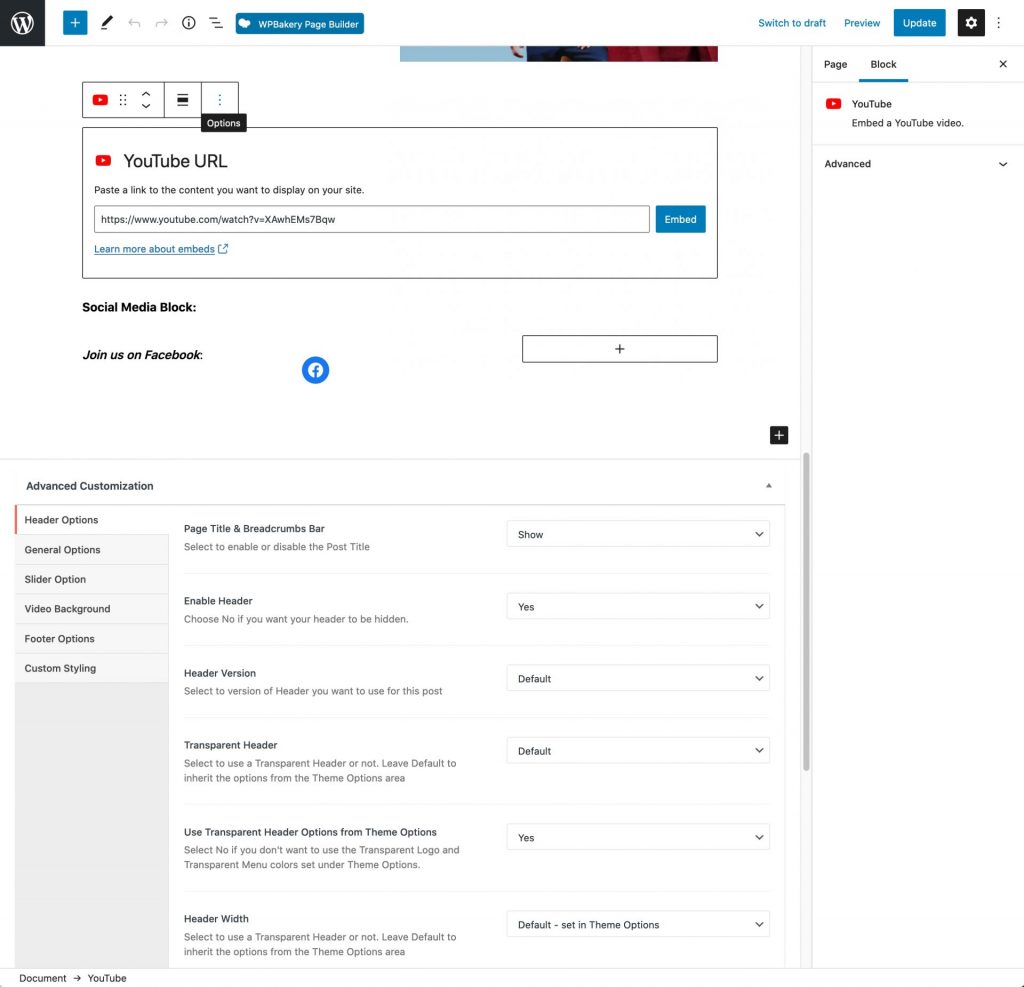
To embed a Youtube video select the Youtube block and paste your URL into the field and click ‘Embed’.
To replace a video, select the existing video block and click on the Edit tool, then replace the URL with the new one.
To grab the Youtube URL, visit the page on Youtube, click on the share button, then copy the link to paste in WordPress.
